Keep up with our latest news
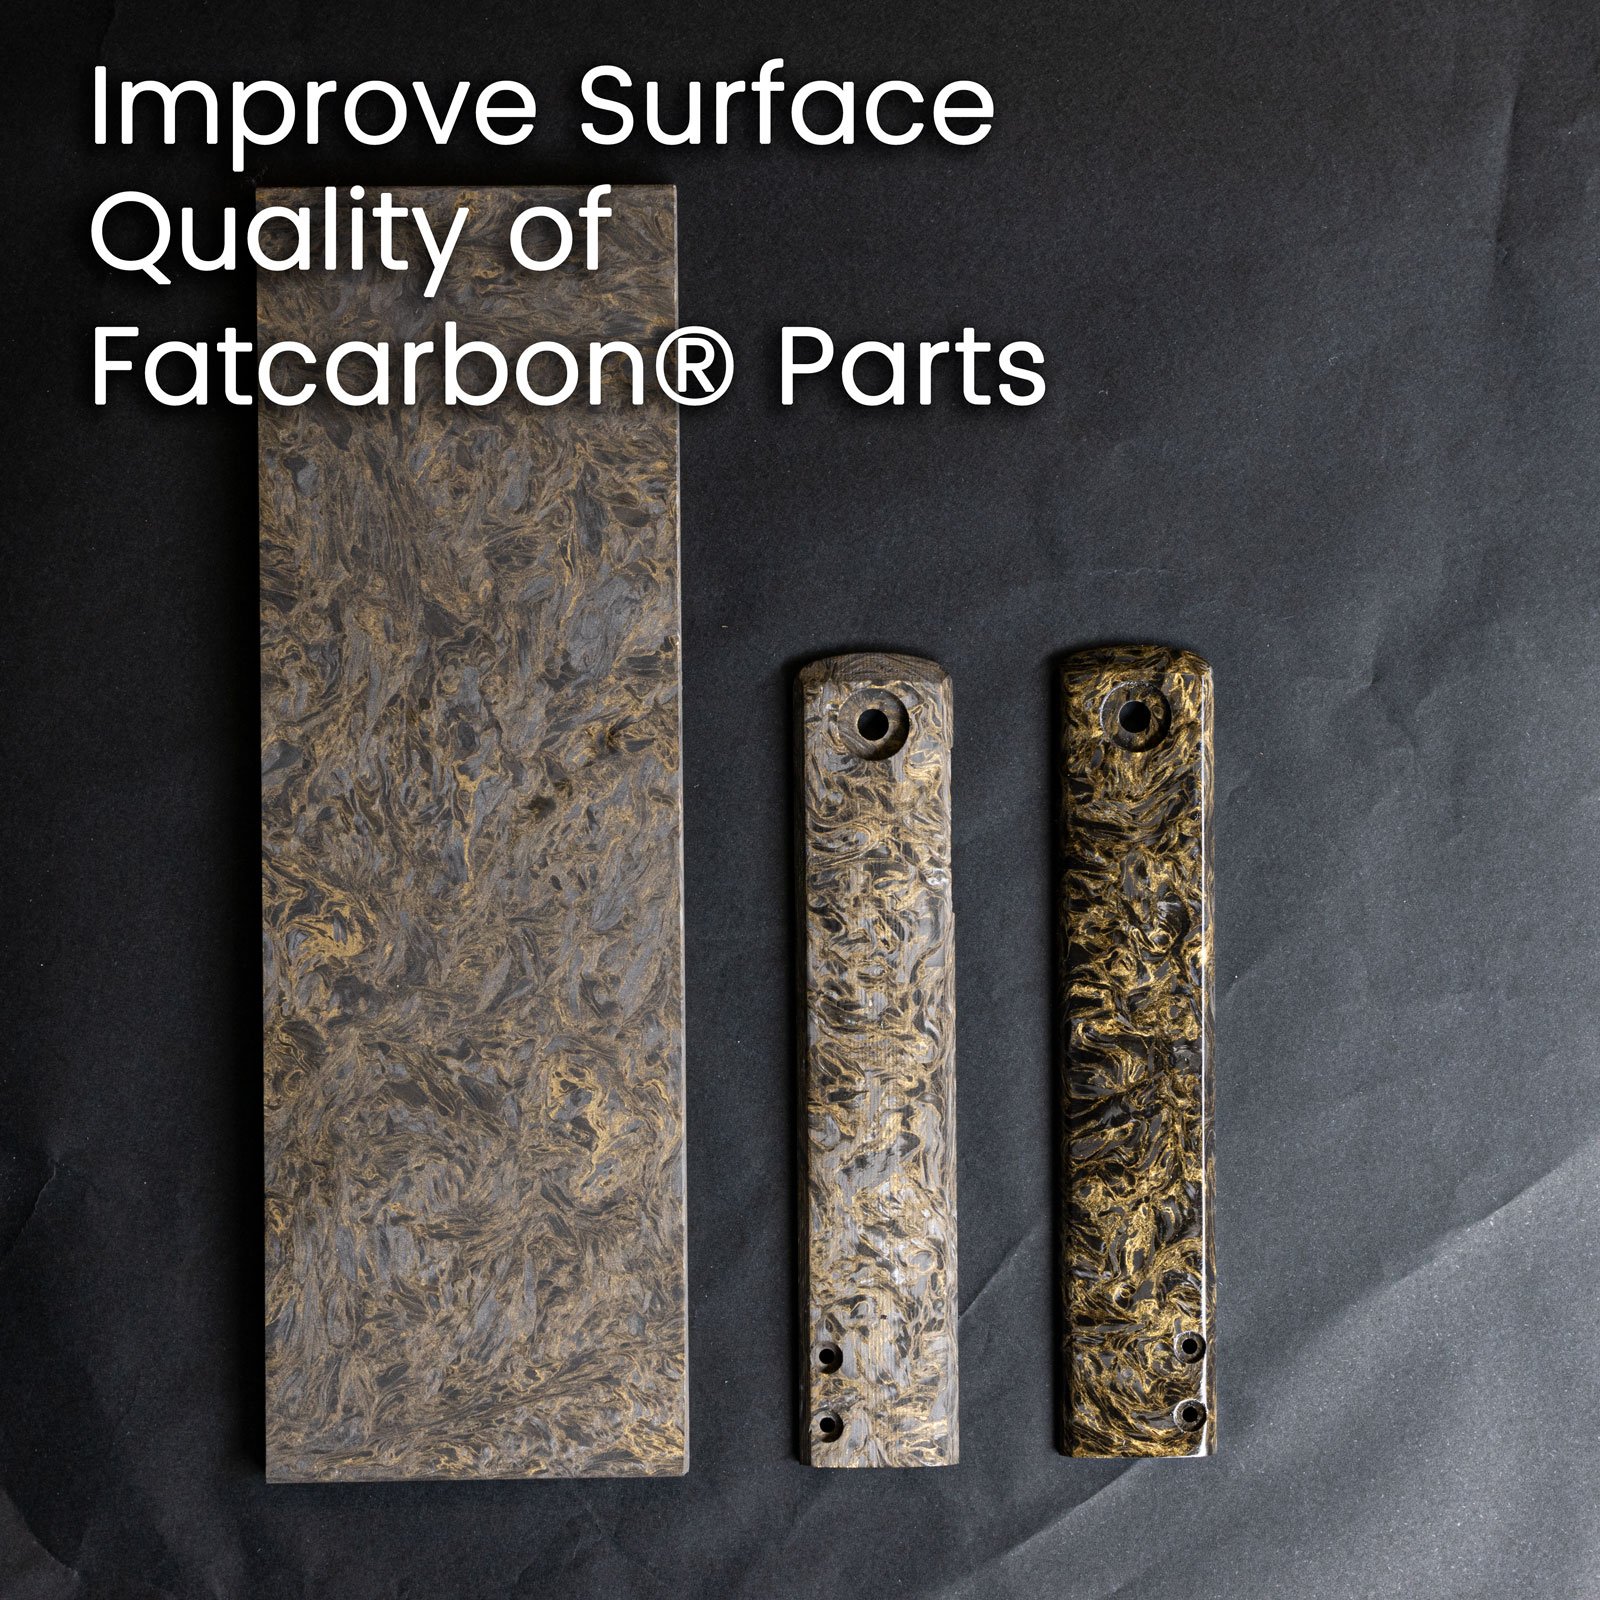
Carbon fiber is a favored material across industries due to its incredible strength-to-weight ratio and durability. However, achieving a flawless finish when machining carbon fiber can be tricky, as tool marks and surface imperfections are common issues. (Learn more about carbon fiber properties here) Fortunately, wet sanding offers an effective solution to improve the surface quality of fatcarbon® carbon fiber parts, ensuring that both appearance and performance are maximized.
In this guide, we’ll walk you through the entire wet sanding process. From gathering the right tools to employing the best techniques, we’ll show you how to achieve a stunning finish that enhances the look and longevity of your carbon fiber parts.
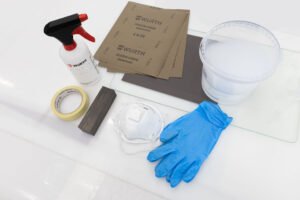
Before you begin wet sanding, it’s important to gather the necessary tools and supplies. Here’s what you’ll need:
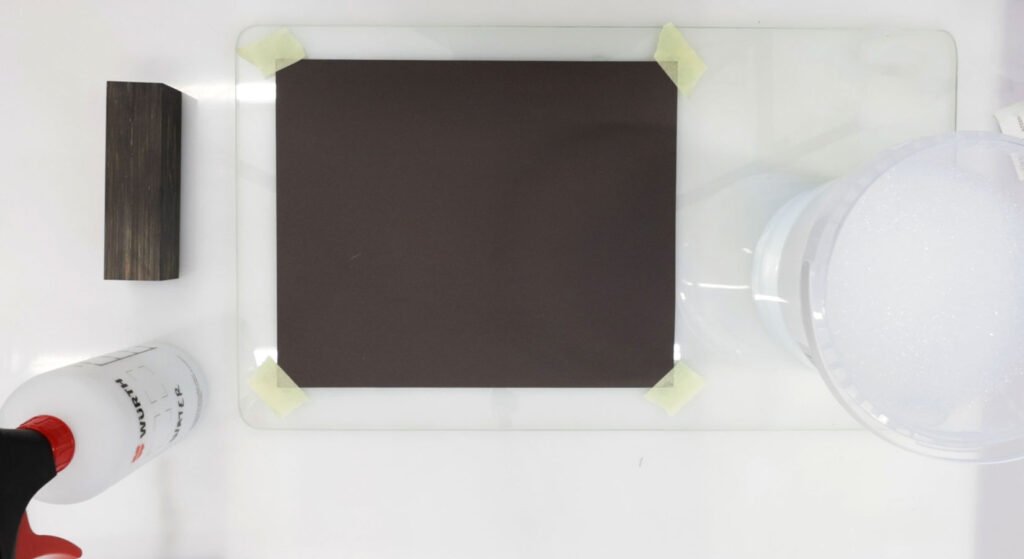
Proper workspace preparation is key to successful wet sanding. Make sure the area is clean, well-lit, and free of any clutter. This will ensure that your sanding process is smooth and uninterrupted.
1. Set up your sandpaper: Place the P320 sandpaper on a flat surface like a granite or glass table, and tape it down to keep it from moving during sanding.
2. Use soapy water: Apply a small amount of soapy water to the surface of the sandpaper. The water acts as a lubricant, helps reduce friction, and removes debris, all of which will help extend the sandpaper’s lifespan.
3. Safety first: Don’t forget to wear gloves to protect your hands from carbon fiber particles and use a mask to safeguard your lungs from fine dust.
For this demonstration, we’ll be using a fatcarbon® Dark Matter Gold carbon fiber knife scale. This particular material is known for its unique blend of visual depth and strength. It offers a premium appearance that’s sure to stand out after wet sanding. If you’re interested in exploring more about Dark Matter Gold or other fatcarbon® materials, be sure to check out our shop.

Now that your workspace is set, it’s time to start sanding. Follow these steps for the best results:
1. Initial sanding (P320 grit): Place the carbon fiber part on the wet P320 sandpaper. Apply gentle but consistent pressure and move the part in small circular motions. This stage will help remove all visible tool marks.
2. Refining the surface: Once you’ve removed the tool marks, switch to a finer grit, such as P600. Continue sanding in circular motions until the marks from the previous grit are gone. You should already notice a smoother surface with enhanced visual quality.
3. Higher grits for finer finishes: Continue this process, progressively moving to higher grits such as P800, P1000, and P1200. Each new grit will refine the surface even further, bringing out the beautiful sheen and 3D shimmering effect that fatcarbon® is known for. Be sure to clean the part with water before switching grits to avoid contamination.
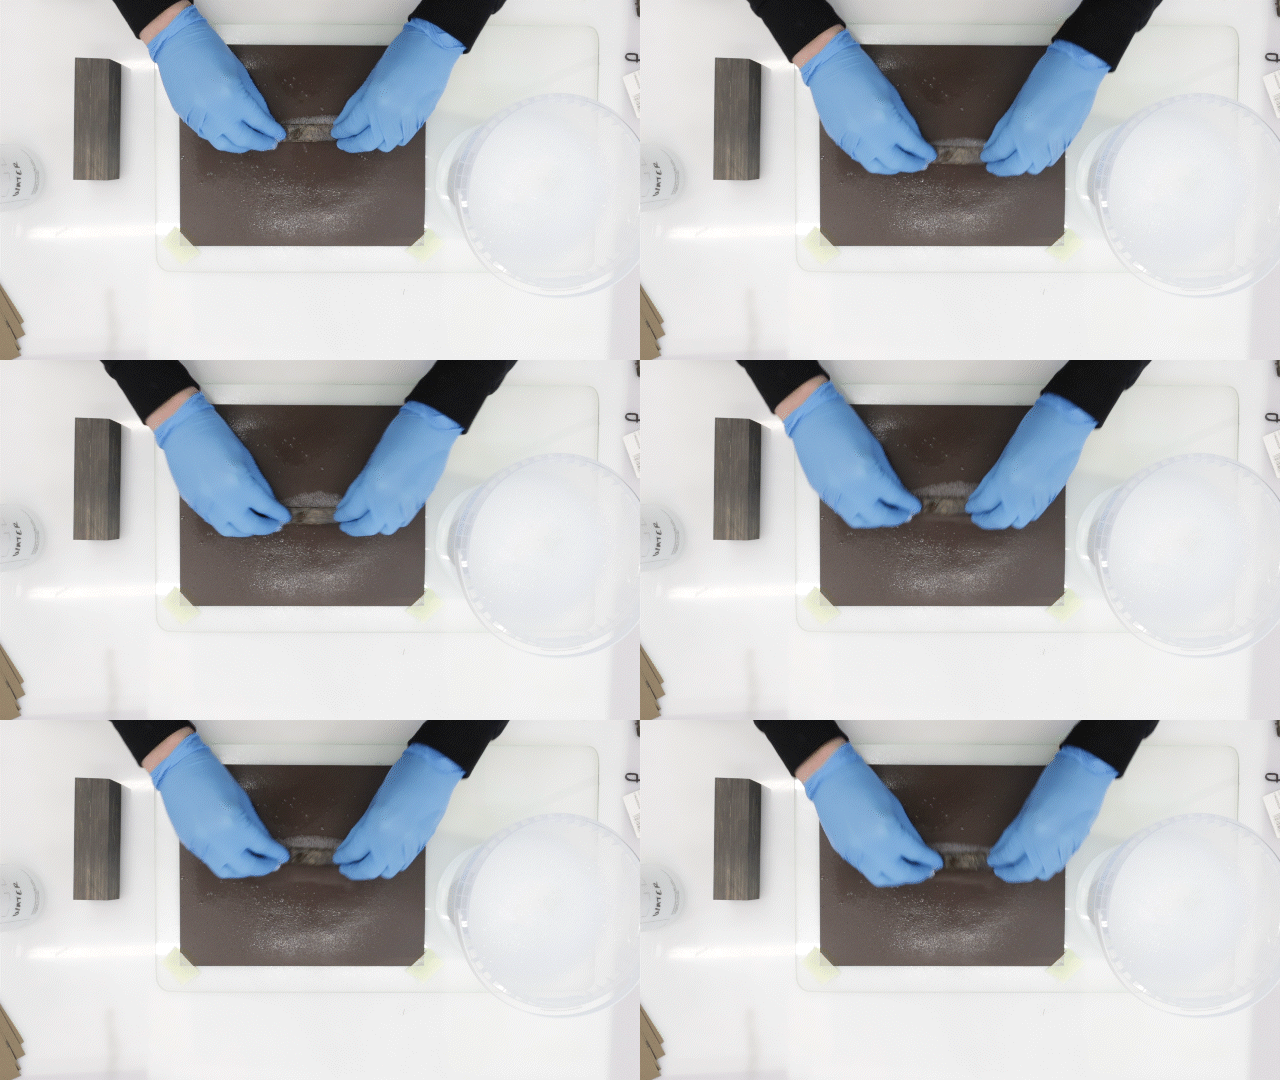
For smaller areas, use linear motions to remove imperfections, ensuring even pressure across the surface.
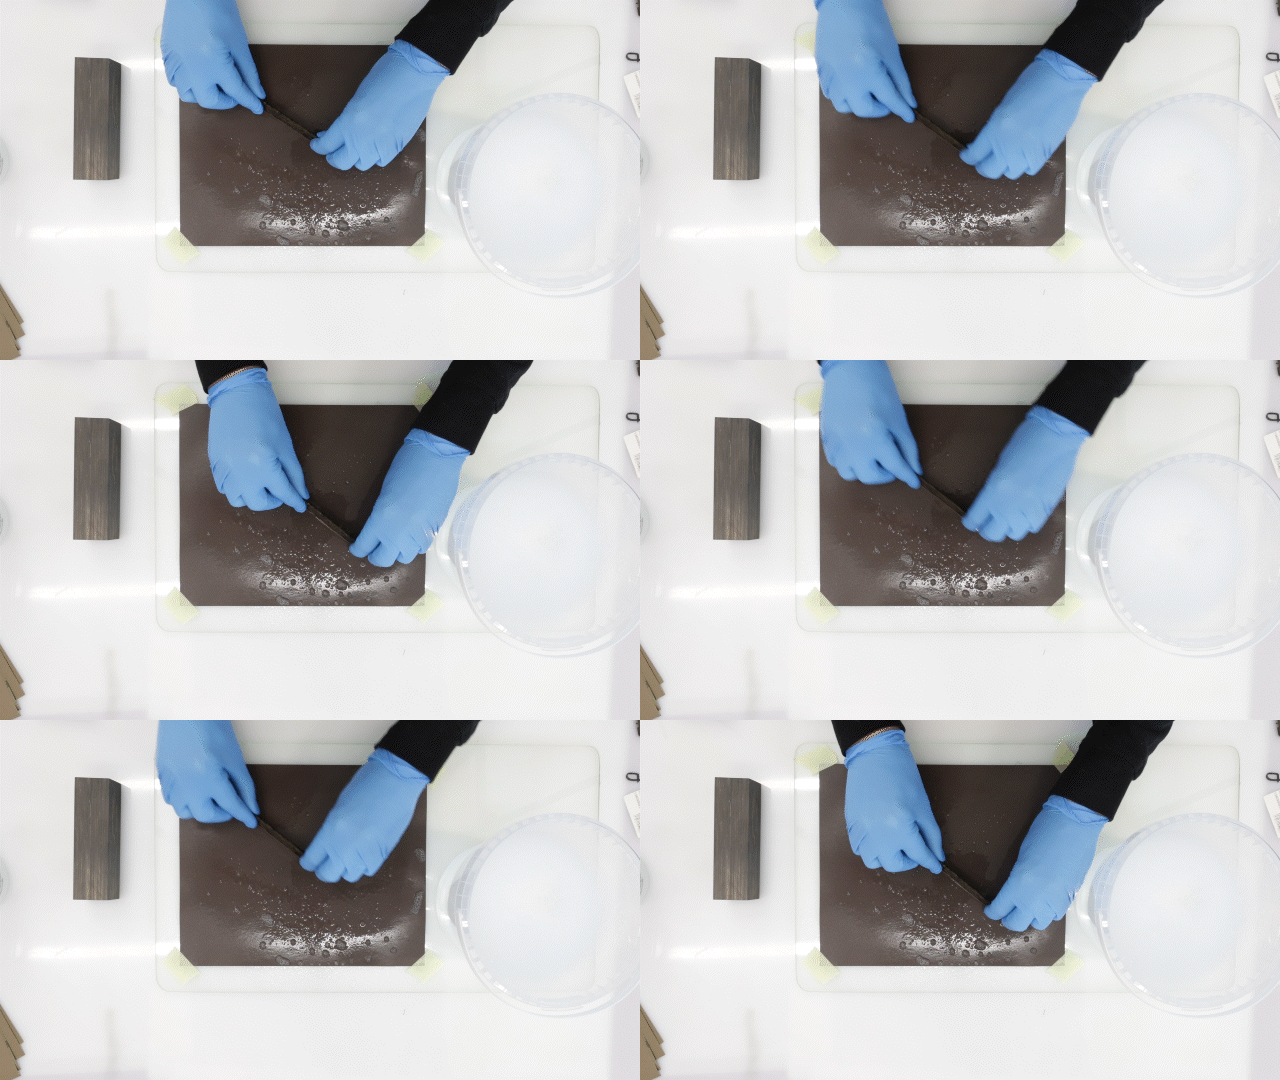
After achieving the desired surface quality, it’s time to decide how you want to protect and enhance the final appearance. Here are a few options:
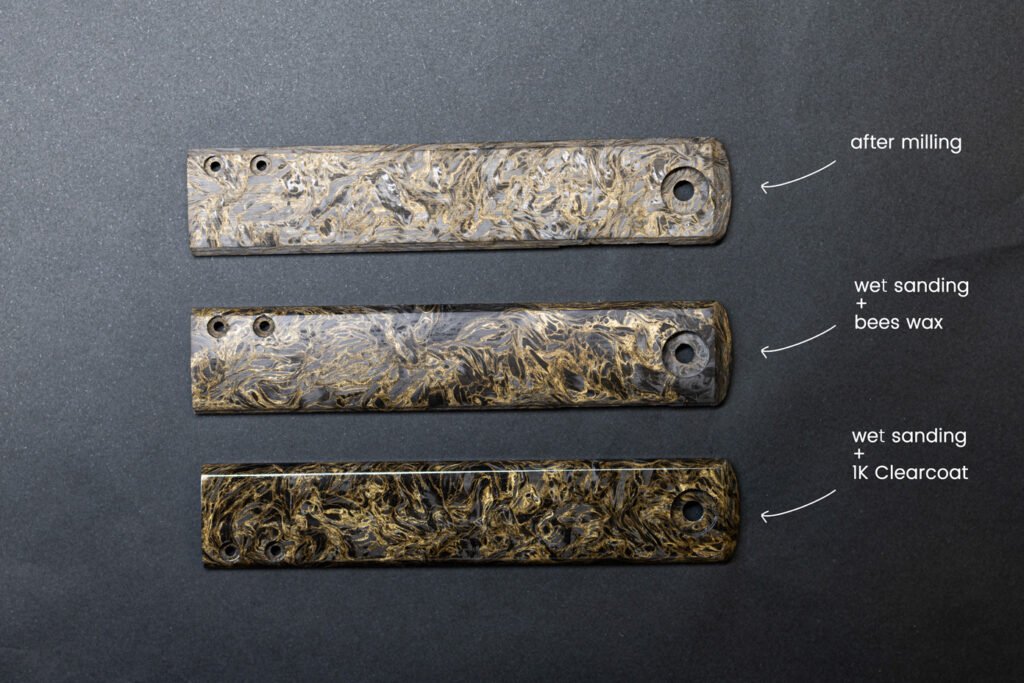
Remember that wet sanding requires patience. Don’t rush the process—take your time to ensure each step is done properly. The results will speak for themselves with a flawless finish that not only looks great but also enhances the part’s overall durability.
Additionally, wet sanding isn’t just useful for new parts. It can be a great way to restore older carbon fiber pieces, bringing them back to life with a smooth, rejuvenated surface.
Wet sanding might take some time and effort, but the results are definitely worth it. With the right tools, proper technique, and a little patience, you can achieve a stunning, durable finish on your fatcarbon® carbon fiber parts.
If you have any questions or need further guidance, feel free to contact us. We’re always happy to help!